
Mailbox numbers might seem like a small detail, but they hold significant importance for your property’s accessibility, visibility, and overall aesthetic. From enhancing safety to boosting curb appeal, clear Modran House Numbers serve both practical and decorative purposes.we will dive into the key reasons why these numbers should never be overlooked when designing your home’s exterior. Whether you’re upgrading your mailbox number for better visibility or simply aiming to enhance your home's look, Modran House Numbers offer a sleek, modern solution that meets both form and function.
Clear Mailbox Numbers Are Essential
When people think of house numbers or mailbox numbers, they often overlook their significance. Clear and easily visible mailbox numbers play a crucial role in identifying your property. Whether it’s a delivery driver trying to find your address, a guest visiting for the first time, or an emergency responder in need of quick access, having legible mailbox numbers ensures that your home can be located quickly and easily.
For those unfamiliar with your neighborhood, the ability to spot the mailbox numbers from a distance makes a huge difference. Clear mailbox numbers help others find your home without confusion or delay, making your property more accessible and navigable.
Impact on Safety and Emergency Response
In emergencies, every second matters. Whether you’re calling for help or waiting for a delivery, having clear mailbox numbers ensures a smooth and fast response time. In situations where you need fire, police, or medical assistance, emergency responders rely on quick identification of house addresses. Without clear and visible numbers, valuable time can be lost as responders search for the correct house.
It’s not just about convenience for others, either. In case of emergencies or urgent situations, clear mailbox numbers can save lives. They enable quick identification for ambulance services, which can be crucial in times of medical distress.
Enhancing Curb Appeal with Stylish Mailbox Numbers
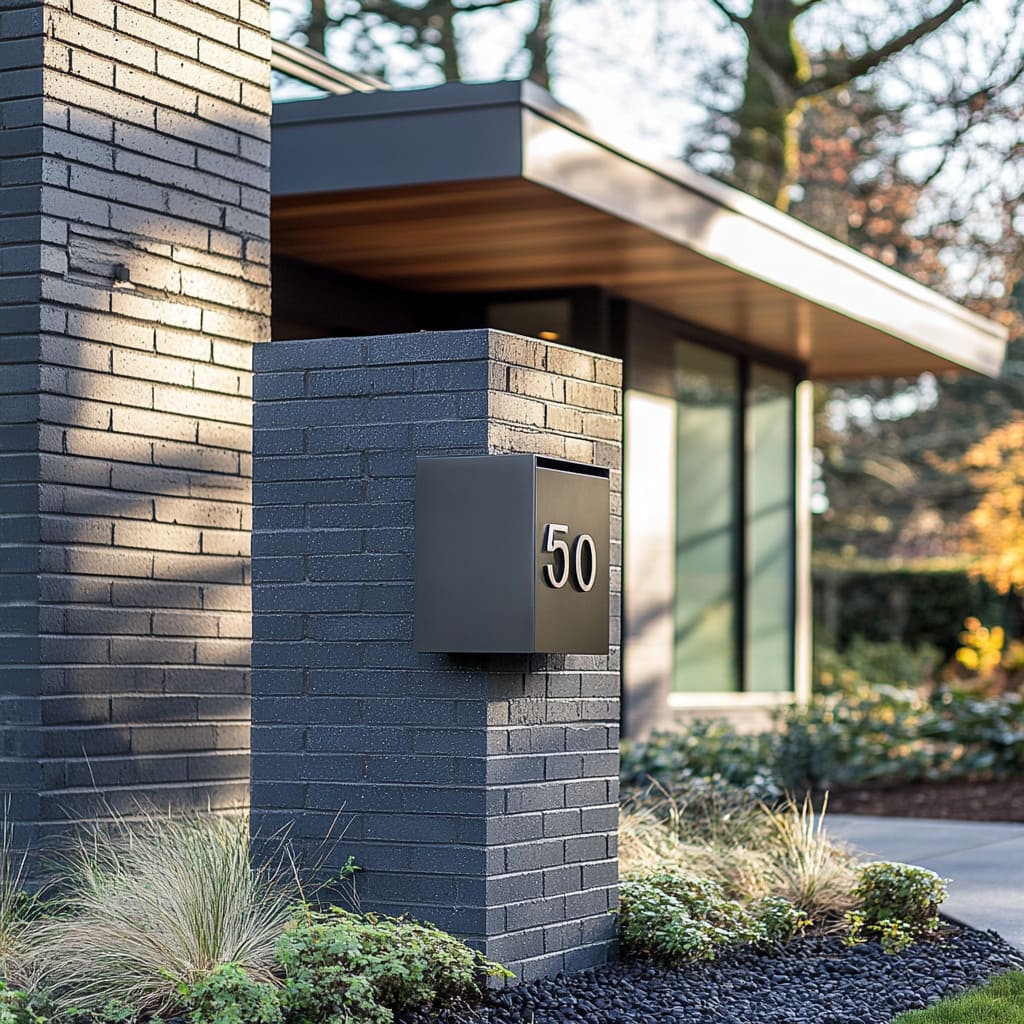
While functionality is important, mailbox numbers are also an integral part of your home’s exterior design. They can add an extra touch of style, sophistication, or personality to your property. Think of your mailbox as the first thing people see when approaching your home. A well-designed, clear mailbox number can complement your landscaping, mailbox design, and overall architectural style. It’s an easy, budget-friendly way to elevate your home’s curb appeal.
Choosing the right mailbox number design can make your home stand out. Opt for sleek and modern numbers for a contemporary feel, or select a more rustic or vintage design that fits with a traditional or country-style home. The possibilities are endless, and the key is choosing numbers that fit seamlessly with your home’s exterior aesthetics.

Choosing the Right Size and Style for Mailbox Numbers
The size, style, and material of your mailbox numbers are crucial for ensuring that they are both functional and visually appealing. Here are some important factors to keep in mind when selecting mailbox numbers:
Size: Mailbox numbers should be large enough to be easily visible from the street but not so large that they overpower your mailbox. Ideally, they should be at least 3–4 inches tall. If your home is on a busy street or in a neighborhood with a lot of foot traffic, opt for larger numbers to ensure better visibility.
Style: The style of your mailbox numbers plays a large role in the overall visual appeal of your exterior. From modern sans-serif fonts to more classic serif styles, you can choose a design that suits the vibe of your home. Opt for a bold, minimalist design for a modern look, or go for a more ornate script for a traditional or vintage feel.
Color: The color of your numbers should contrast well with the background of your mailbox. For example, dark numbers on a light-colored background or light-colored numbers on a dark background will stand out more clearly.
Choosing the right size, material, and style ensures that your mailbox numbers are not only functional but also contribute to your home’s curb appeal.
Common Mistakes to Avoid
When selecting mailbox numbers, homeowners often make mistakes that compromise both visibility and aesthetic appeal. Here are some common errors to avoid:
Too Small of a Size: Choosing numbers that are too small can make it difficult for people to read them from a distance, especially at night. Ensure that your numbers are large enough to be visible from the street, ideally around 3–4 inches tall or more depending on your location.
Lack of Contrast: Numbers that blend into the background or are hard to read because of poor color contrast can be a significant issue. Ensure your numbers stand out by using contrasting colors, such as dark numbers on a light background or vice versa.
Unreadable Fonts: Ornate or complicated fonts may look stylish, but they can be difficult to read from a distance. Stick with bold, simple fonts like sans-serif styles for maximum legibility.
Ignoring Placement: Proper placement of your mailbox numbers is essential. They should be placed in a position where they are easily visible from the street without obstructions such as plants, trees, or other items. Make sure your mailbox number is mounted securely and at a height where it’s visible to anyone approaching your home.
By avoiding these common mistakes, you can ensure that your mailbox numbers are both functional and enhance the overall appearance of your home.
Install Mailbox Numbers for Maximum Visibility
Proper installation of mailbox numbers is crucial to ensure they are both functional and easy to read. Here are a few steps to help you get the best placement for your numbers:
Height: Install the numbers at eye level for maximum visibility. For street-facing numbers, this is typically between 4 and 5 feet from the ground. This ensures that passersby, including drivers, can see them clearly without straining or having to look down.
Position: The numbers should be placed on the side of the mailbox or the post, ensuring they are not blocked by plants, mailboxes, or other objects. Ensure they are visible from both directions if your property is located on a corner.
Use Adhesive or Screws: Depending on the type of mailbox and numbers, choose an appropriate method of attachment. Some numbers come with adhesive backing, while others may require screws. If your numbers are made from a heavy or durable material like metal, it’s advisable to screw them into place for added stability.
Reflective Numbers: If your area is poorly lit, consider installing reflective mailbox numbers. These are highly visible at night, especially for drivers or emergency responders who may need to locate your home in low-light conditions.
Mailbox Numbers and Their Role in the Community
Mailbox numbers aren’t just useful for your household—they play an essential role in your local community. Here’s why:
Navigation for Visitors and Services: Clear mailbox numbers help guide delivery drivers, guests, and service providers (such as maintenance workers) directly to your home. This saves time, reduces confusion, and prevents frustration for anyone unfamiliar with your neighborhood.
Emergency Situations: In the event of an emergency, such as a fire or medical emergency, clear mailbox numbers can save crucial seconds when first responders are trying to locate your home. A visible, easy-to-read number can significantly reduce response times, making it an important investment for safety.
Neighborhood Aesthetic: When all homes in a neighborhood maintain clear and stylish mailbox numbers, it enhances the overall look and feel of the area. A neighborhood where every home is identifiable and aesthetically coordinated improves the sense of community and pride among residents.
By installing and maintaining clear mailbox numbers, you contribute to the overall safety and aesthetic of your neighborhood.
Conclusion
Mailbox numbers are an essential aspect of your home’s exterior. While often overlooked, they play an important role in enhancing safety, improving curb appeal, and creating a well-organized, easily navigable environment for visitors and emergency services.
Choosing the right mailbox numbers, considering factors such as size, style, material, and placement, will ensure they are functional, visually appealing, and provide the maximum benefit to your property. Whether you opt for a modern, minimalist design or a more traditional look, the key is ensuring the numbers are clear, legible, and complementary to your home’s overall aesthetic.
Remember, mailbox numbers may seem like a small detail, but they have a big impact on your home’s safety, accessibility, and curb appeal.
FAQs
Why are mailbox numbers so important?
Mailbox numbers are crucial for enhancing the visibility and accessibility of your home. They help delivery drivers, emergency responders, and guests locate your property quickly and easily. Clear, easy-to-read mailbox numbers can also improve safety, as they make your home identifiable during emergencies.
How do I choose the right size for mailbox numbers?
The size of your mailbox numbers should be large enough to be seen from a distance but still fit the design of your mailbox. Generally, numbers should be at least 3 to 4 inches tall to ensure readability. If your mailbox is positioned far from the street, you might consider larger numbers for better visibility.
Can mailbox numbers improve my curb appeal?
Yes, mailbox numbers can significantly enhance your curb appeal. Stylish and modern numbers can complement your home's exterior and add a touch of sophistication. A well-chosen design can make your property stand out in a positive way, contributing to the overall aesthetic of your neighborhood.
What materials are best for mailbox numbers?
Mailbox numbers come in a variety of materials, including metal, plastic, wood, and acrylic. Metal (especially stainless steel) is durable and gives a modern look, while wood can add a more rustic feel. Consider your climate when choosing materials—metal is great for harsh weather, while wood may need additional protection.
How can I make my mailbox numbers visible at night?
To ensure your mailbox numbers are visible at night, you can opt for reflective numbers or install a light near the mailbox. Reflective materials are highly visible in low light conditions, while a spotlight or solar-powered light can illuminate the numbers, making them easier to spot after dark.


