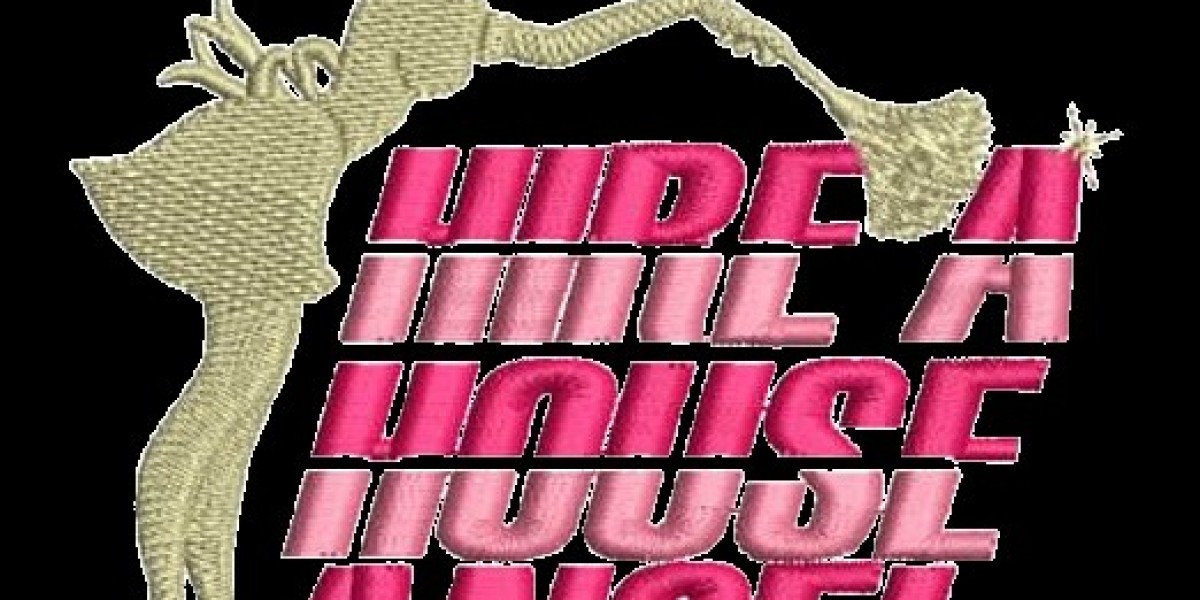


From Artwork to Perfect Stitches: What Every Embroidery Project Needs
Custom embroidery digitizing is the process that transforms artwork into a stitch file that embroidery machines can understand. Many people assume that a logo or image can be stitched directly from a JPG or PNG file, but embroidery machines require a specially prepared file that contains stitch directions, densities, angles, and sequence information.
If you've ever experienced uneven stitching, broken threads, gaps in a design, or puckered fabric, the problem often starts long before the machine begins sewing. The quality of the digitized file has a direct impact on the final embroidered product. Understanding how this process works can help businesses, apparel brands, sports teams, and individuals avoid costly mistakes while achieving professional-looking embroidery.
Why Artwork Alone Isn't Enough
A common misconception is that any digital image is ready for embroidery. In reality, embroidery machines cannot interpret standard image files. They need stitch instructions that tell the machine exactly where to sew, how many stitches to create, what direction the stitches should follow, and when to change thread colors.
This is why a professionally prepared embroidery file is essential. Every design must be analyzed and adjusted according to its size, fabric type, and intended placement.
For example, a design that looks excellent on a computer screen may not stitch well on a cap or polo shirt without proper adjustments. Small lettering, thin lines, and fine details often need modification so they remain clear after stitching.
Understanding the Digitizing Process
Creating a quality embroidery file involves much more than converting an image into another format. Every section of the design requires careful planning.
A digitizer determines:
- The correct stitch type
- Stitch direction
- Stitch density
- Underlay stitches
- Thread sequence
- Compensation for fabric movement
- Pull and push adjustments
These settings work together to ensure the finished embroidery looks clean and balanced.
Without these adjustments, even an expensive embroidery machine may produce disappointing results.
Common Problems Caused by Poor File Preparation
Many embroidery issues can be traced back to an improperly digitized design rather than machine settings.
Some of the most common problems include:
- Uneven stitch coverage
- Fabric puckering
- Thread breaks
- Gaps between colors
- Misaligned outlines
- Distorted lettering
- Excessive trims and jump stitches
- Slow production speeds
Correcting these problems after production begins often wastes materials, thread, stabilizer, and valuable machine time.
Why Every Fabric Requires Different Adjustments
One embroidery file does not work perfectly on every material.
Cotton, fleece, denim, towels, leather, caps, and performance fabrics all react differently during stitching. Each material stretches, shifts, or absorbs stitches differently.
For example:
Heavy fabrics may require stronger underlay.
Stretch fabrics need additional stabilization.
Caps require different stitch angles because of their curved surface.
Towels often need higher stitch density to prevent stitches from sinking into the fabric.
Understanding these differences helps produce cleaner embroidery across multiple products.
The Importance of Stitch Direction
Many beginners focus only on thread colors while ignoring stitch direction.
The angle of stitches affects both appearance and durability.
Proper stitch direction can:
Create depth in the design.
Reduce fabric distortion.
Improve light reflection.
Make lettering easier to read.
Prevent unnecessary thread buildup.
Experienced digitizers use different stitch angles throughout the design to create texture and improve visual quality.
Small Details Matter More Than You Think
Tiny lettering and intricate artwork present unique challenges.
Very small text may appear clear on a computer but become unreadable after stitching.
Professional preparation often includes simplifying details, widening narrow spaces, and adjusting line thickness without changing the overall appearance of the design.
These small modifications help maintain readability while keeping the design attractive.
Choosing the Correct Stitch Types
Different areas of a design require different stitch styles.
Running stitches work well for fine outlines and details.
Satin stitches are commonly used for lettering and borders because they produce a smooth finish.
Fill stitches cover larger areas efficiently while maintaining durability.
Selecting the right combination improves both appearance and production efficiency.
Production Efficiency Starts Before Stitching
Businesses often focus on machine speed when trying to increase productivity.
However, production efficiency begins with a properly prepared embroidery file.
An optimized design can reduce:
- Thread breaks
- Needle changes
- Machine downtime
- Excessive trims
- Stitch count
- Material waste
This allows embroidery shops to complete more orders while maintaining consistent quality.
Why Testing Is an Essential Step
Even an excellent embroidery file should be tested before full production.
A sample stitch-out allows operators to identify:
- Registration issues
- Thread tension problems
- Fabric movement
- Color sequencing
- Letter clarity
- Overall design appearance
Making small adjustments during testing prevents expensive production errors later.
Preparing Artwork for Better Results
High-quality artwork makes digitizing easier and improves the final outcome.
Whenever possible, provide:
- Vector artwork
- High-resolution logos
- Clear text
- Accurate brand colors
- Original design files
Low-resolution screenshots or blurry images often require additional cleanup before digitizing can begin.
The better the artwork, the more accurately the embroidery can represent the original design.
How Different Placement Areas Affect Design
Embroidery placement influences how a design should be prepared.
Chest logos usually allow moderate detail.
Hat fronts require stronger compensation because of the structured surface.
Sleeves often need smaller, simplified layouts.
Jacket backs provide space for larger designs with more detail.
Left chest embroidery typically benefits from bold lettering instead of extremely fine details.
Preparing the design specifically for its placement produces better results than resizing the same file repeatedly.
Maintaining Consistency Across Large Orders
Uniform appearance is especially important for businesses ordering embroidered uniforms, promotional apparel, or team clothing.
A properly prepared embroidery file helps maintain consistency across hundreds or even thousands of garments.
This ensures:
- Matching stitch quality
- Consistent lettering
- Uniform spacing
- Accurate thread placement
- Reliable production results
Consistency strengthens brand identity and creates a more professional appearance.
Working With Modern Embroidery Machines
Today's embroidery machines are highly advanced, but they still depend on accurate stitch files.
Even the most sophisticated equipment cannot automatically correct poor digitizing decisions.
Machine operators can adjust thread tension or speed, but they cannot compensate for incorrect stitch paths, missing underlay, or poorly planned sequencing.
That is why quality preparation remains one of the most valuable parts of the embroidery workflow.
Final Thoughts
Successful embroidery begins long before the first stitch is sewn. Careful planning, proper stitch sequencing, fabric-specific adjustments, and accurate file preparation all contribute to a clean and professional result.
Whether creating uniforms, promotional apparel, sportswear, fashion pieces, or personalized gifts, investing time in proper digitizing helps reduce production problems while improving the appearance and durability of every embroidered design. Understanding the process also allows customers to make better decisions when preparing artwork and selecting embroidery services, ultimately leading to higher-quality finished products and more consistent results.