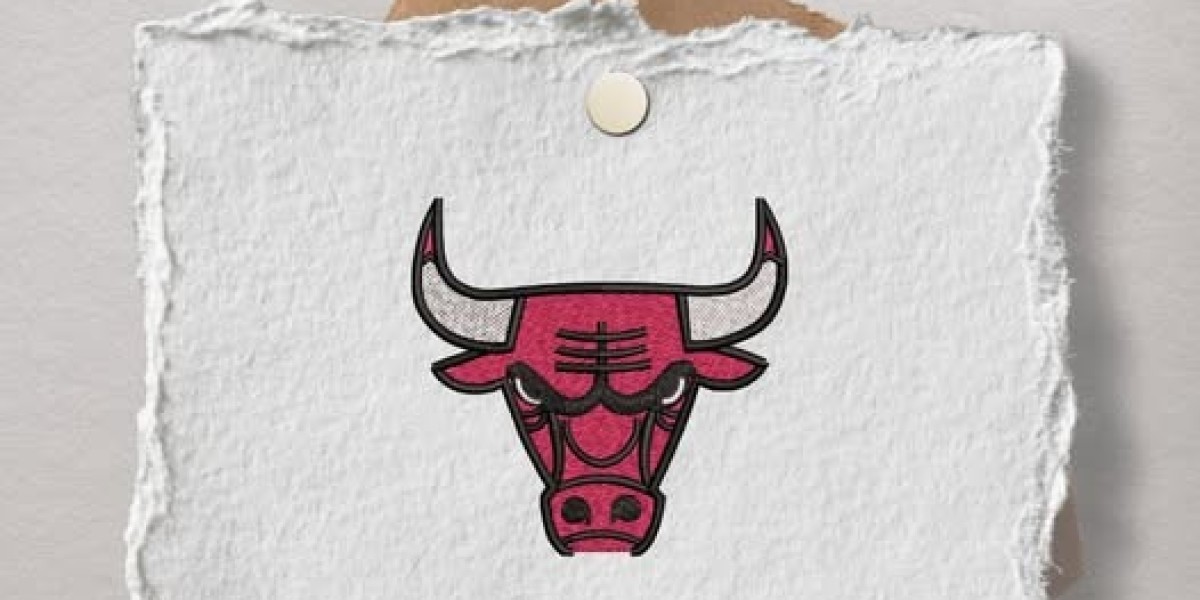
You have decided to have your company’s logo embroidered on polo shirts, caps, or workwear to build a professional brand image. You provide a high-quality JPG or PNG file to your embroiderer, but you are told it first needs to be “digitized.” This common requirement is often a point of confusion, yet it is the single most important step in turning your digital brand asset into a high-quality, physical product.
An embroidery machine cannot read a standard image file like a printer does. It requires a specific set of instructions in a dedicated stitch file that directs the needles on where to move, what type of stitch to use, and when to change colors. The process of creating this file is called digitizing. Understanding this process is essential to ensuring your embroidered logo looks sharp, professional, and consistent.
The Technical Process of Logo Digitizing
Digitizing is a technical service performed by a specialist, known as a digitizer. It is not an automatic, one-click conversion. Using specialized software, the digitizer manually plots a path for the embroidery machine's needles to follow, effectively re-creating the logo with thread. This blueprint determines the final quality of the embroidery. The digitizer makes crucial decisions about stitch types, assigning smooth satin stitches for lettering, textured fill stitches for larger areas, and running stitches for fine details.
They also plan the stitch direction to create texture and correctly reflect light, and they calculate the ideal stitch density to provide full coverage without making the design too stiff or causing the fabric to pucker. Finally, they map the most efficient sewing path and add a foundation of "underlay" stitches to stabilize the fabric.
Preparing Your Logo for a Successful Outcome
To achieve the best possible result, some preparation of your logo is required. Addressing these points before you submit your file will lead to a better outcome.
Simplify Complex Logo Elements
Embroidery uses physical thread, which means it cannot reproduce photographic gradients, extremely thin lines, or tiny, intricate details from a digital image. In many cases, it is best to use a slightly simplified version of your logo that has been optimized for embroidery.
Ensure Legible Text Size
Small text is notoriously difficult to embroider well. Letters that are too small or have ornate fonts often lose their clarity and become unreadable. As a general guideline, text should be at least 6mm (approximately ¼ inch) high to ensure it remains crisp and legible when stitched.
Provide High-Quality Vector Artwork
The quality of the source file directly impacts the quality of the final digitized file. A vector file (in formats like AI, EPS, or PDF) is always the best choice because it provides clean lines and can be scaled to any size without losing resolution. If you must use a pixel-based image like a JPG or PNG, provide the largest and highest-resolution version you have.
Specify Fabric Type and Final Dimensions
A digitized file prepared for a structured twill cap will not sew correctly on a soft, stretchy polo shirt. It is essential to inform your digitizer of the exact material the logo will be stitched on and the precise final dimensions. This information allows them to make critical adjustments for fabric tension and density.
Understanding the Cost and Value
The fee to digitize your logo is typically a one-time investment per design. While it may be tempting to use extremely cheap or "free" digitizing offers, these services often rely on low-quality automated software that produces poor results and can damage your brand's image. Investing in professional, manual digitizing is an investment in quality.
Ultimately, a professionally digitized logo for Embroidery is the foundation of high-quality embroidered apparel. By starting with the right artwork and providing clear instructions to your digitizing partner, you ensure your brand is represented with the quality and consistency it deserves.


