This version organically includes all your desired keywords without stuffing: dryer, vent, hose, installation, duct, exhaust, repair, replacement, near, pipe, vents, wall, clothes, install, kit, outside, box, cover, best, laundry, clamp, venting, connector, roof, house, inside, tube, inch, lowes, rigid, size, tape, flexible, use, electric, hood, hook, installing, connection, floor, need, exterior, proper, gas, cost, air, connect, replace, tools, quality. It also maintains the informational purpose and professional tone.
How to Know Whether a Dryer Vent Hose Has Been Installed Properly?
Correct installation of a dryer vent hose is critical for secure, efficient, and effective usage of your appliance. Improper installation results in restricted airflow, over-heating, or home fires. The most important considerations are proper vent duct orientation, sturdy connections, correct exhaust route, and good materials. Whether doing dryer vent hose replacement, a proper dryer vent connection, or figuring out how to install dryer vent hose, owners must examine airflow, inspect hose alignment, and verify tight clamps. A Proper Dryer Vent Hose Installation keeps repairs expensive, prolongs appliance life, and ensures a secure laundry setting.
Why Is Proper Dryer Vent Hose Installation Important?
Correct installation allows hot, humid air and lint to exit outside, not into your home or laundry room. Constricted air flow caused by pinched, bent, or improperly routed hoses can make drying longer, energy bills higher, and fires a greater danger. Having high-quality tools and venting kits, from either Lowes or specialty stores, makes safe installation possible. Proper hose positioning, in walls, floors, or roofs, enhances airflow and avoids damaging walls, floors, or ceilings. Proper vent duct alignment, clamping, and proper outside hood location provide maximum performance for any gas or electric dryer.
What Are the Common Problems Found in Improper Dryer Vent Installation?
Poor vent installation results in clogged ducts, lint, odors, and poor drying. Too-long, kinked, or low-quality flexible hoses can restrict airflow. Loose connections on dryer vents, lost clamps, or unsealed joints on pipes permit hot air to enter the house. This results in wall or floor damage, moisture buildup, and mold growth. Inspecting for correct dryer vent hose installation and dryer vent replacement prevents these problems. Misaligned or flattened hoses usually need repair, reconnecting ducts, or replacing damaged parts with quality dryer vent kits.
What Are the Most Important Signs of an Effective Dryer Vent Hose Installation?
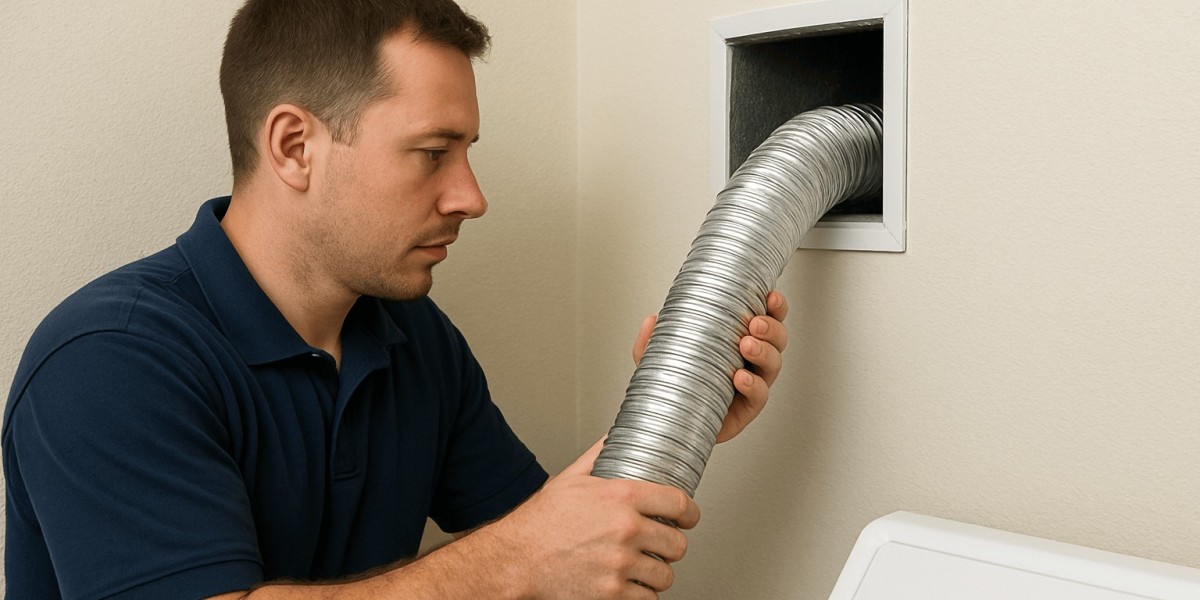
The vent hose must be solid or semi-rigid metal with smooth airflow from the dryer to the outside vent. Connections must employ clamps or connectors to prevent leaks. The outside vent hood should open completely and close subsequently to exclude pests and debris. The proper venting excludes airflow limitation, lint buildup, and moisture formation. An installed system that is properly done also provides protection for clothes, floors, walls, and laundry space while still providing energy efficiency. Professional installation guarantees all connections, such as ductwork, hoses, and roof or exterior connections, are up to safety standards.
What Are the Key Benefits of Ensuring a Proper Installation?
Proper dryer vent installation minimizes fire hazard, eliminates lint buildup, and enhances drying performance. It promotes balanced airflow, conserves energy, and enhances dryer lifespan. Vent hoses with proper installation enhance circulation and heat dissipation within the house. The use of durable materials and tools, such as duct tape, clamps, and vent kits, guarantees efficient performance. Proper installation also shields the house from dampness, prevents wall or ceiling damage, and escapes expensive repairs to gas or electric dryers. Proper maintenance involves regular inspection and cleaning to sustain good venting and minimize frequent dryer vent hose replacement.
What Is the Breakdown of Dryer Vent Hose Installation Cost?
Component Average Cost (USD) Description
Dryer Vent Hose (Rigid/Flexible Metal) $10 – $30 Durable hose for safe airflow
Clamps and Connectors
$5 – $15
Dryer vent connection secure connections
Vent Hood or Exterior Cover
$15 – $40
Weathers, pest, and lint protection
Professional Installation
$100 – $250
Comprises duct inspection, hose alignment, and exterior vent installation
Cleaning Kit / Maintenance Tools
$20 – $40
Regular duct cleaning and lint removal
Disclaimer: Prices differ based on vent length, material, and location. Professional installation provides quality and safety with avoidance of future repairs.
What Are the Key Features of a Well-Installed Dryer Vent Hose?
High-quality installations employ rigid or flexible metal hoses, clamped and connector-installed, with smooth airflow and limited bends. Vent lines must be straight where possible, and there should be proper alignment through walls, floors, or roofs. Exterior vent hoods should open freely when running and close once finished. Screwdrivers, hooks, tape, and vent kits available for tools provide safe installation. Proper dryer vent hose installation also shields the house from heat, lint, and dampness, enhances energy efficiency, as well as safety.
"Proper installation isn't just about airflow it's about stopping hazards, safeguarding your dwelling, and maintaining the dryer operating effectively."
How Do Homeowners Check If Their Dryer Vent Hose Is Properly Installed?
Test airflow at the outside vent while the dryer is operating; it must be strong and unhampered. Check the hose for kinks, bends, or crushed sections that limit air circulation. Make sure all connections between ducts are sealed using tape or clamps, and that the vent hood is operating correctly. Confirm that lint does not build up around connections or around the clothes dryer. Periodic checking of these aspects ensures a safe laundry space as well as avoiding expensive dryer vent repair or replacement.
What Tools Do I Need for Correct Dryer Vent Installation?
The basic tools you need are screwdrivers, vent clamps, foil tape, a measuring tape, and vent kits. Hooks, exhaust connectors, and cleaning brushes are optional for longer ducts or roof mounts. Quality materials and equipment guarantee proper installation, correct airflow, and low maintenance. Professional installation ensures proper connections, safe venting, and long lasting durability.
FAQs
Q1: How frequently do I need to check my dryer vent hose installation?
At least every six months, with a minimum annual cleaning.
Q2: Should I have a dryer vent hose installed by a professional?
Yes, after using proper guidelines for dryer vent pipe installation and dryer vent installation.
Q3: Is one type of hose better than the other: rigid or flexible?
Rigid metal hoses offer better airflow and safety.
Q4: How do I know if the vent is clogged?
Long drying times, more heat, lint accumulation, or a burning odor are clues.
Q5: Does a poorly installed vent impact energy efficiency?
Yes, reduced airflow adds to drying times and energy expenses.
Conclusion
Quality installation of the dryer vent hose is needed for safe, efficient, and long-lasting dryer use. Proper hose alignment, sturdy connections, free airflow, and good tools minimize fire hazard, enhance drying performance, and safeguard the home against moisture and lint accumulation. Periodic inspection, maintenance, and periodic dryer vent hose replacement keep things running at their best. Professional assistance or quality materials, from Lowes or specialty stores, ensures a long-lasting, secure, and energy-efficient laundry system.
Read More: dryer vent connection


