Introduction: Why Choose IP Cameras for Home Security?
In today’s world, home security has become a priority for many homeowners. Traditional CCTV systems, while still effective, have been largely replaced by IP cameras due to their advanced features, ease of setup, and flexibility. IP cameras, or Internet Protocol cameras, allow homeowners to monitor their property remotely, receive real-time alerts, and access high-quality video feeds from anywhere. However, before reaping the benefits of these cameras, it’s essential to set them up correctly. For a wide selection of IP cameras and professional installation services, consider visiting an electronic shop in Dubai that offers the latest security solutions for your home.
Setting up IP cameras at home is a relatively simple task if you follow the right steps. Whether you are looking to enhance your home security with a few cameras or create a full surveillance system, understanding how to set up IP cameras is the first step toward achieving reliable protection for your home.
Understanding the Basics of IP Camera Setup
Before diving into the setup process, it’s important to understand the core components involved. IP cameras connect to your home network using Wi-Fi or Ethernet cables, allowing you to access the video feed remotely. They are powered either by a power adapter or via Power over Ethernet (PoE) if you're using wired models. Once connected to the network, the camera sends the video stream to a network video recorder (NVR) or cloud storage, depending on the system you choose.
When you install an IP camera, you are essentially creating a secure and private monitoring system for your home. Some cameras offer additional features such as motion detection, night vision, and two-way audio, which further enhance their effectiveness.
Step-by-Step Guide to Setting Up Your IP Cameras at Home
Choosing the Right Location for Your IP Cameras
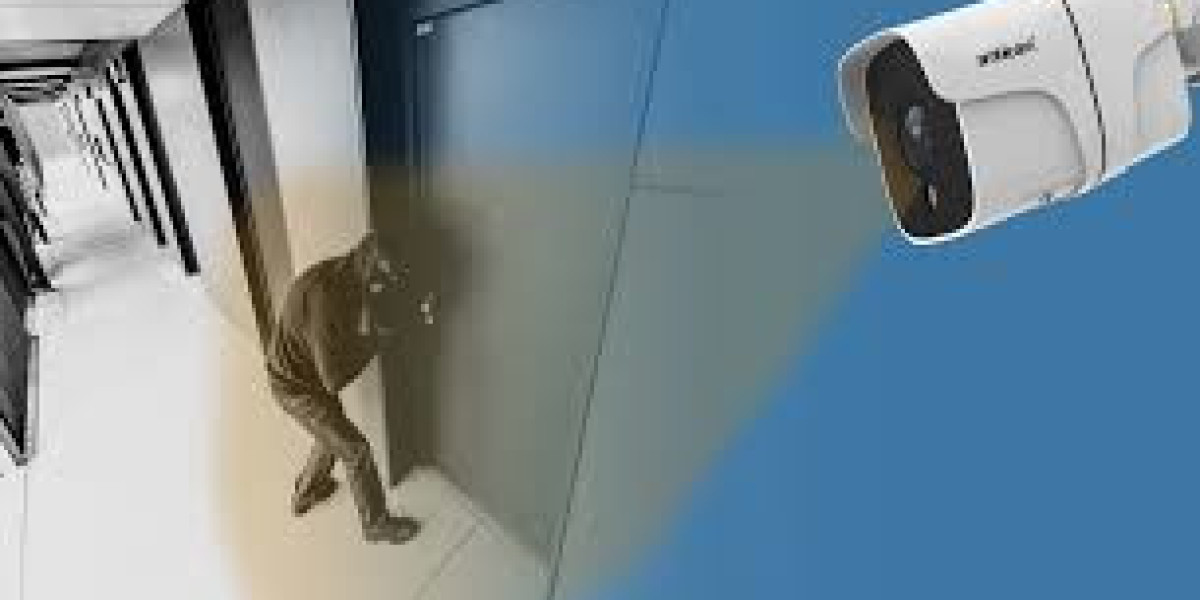
The first step in setting up your IP cameras is to determine the best locations to install them. Ideally, you should position cameras at entry points such as doors, windows, and driveways. Consider areas where there is a high likelihood of security breaches, such as the front door, backyard, and garage. Be sure to place the cameras in elevated positions to avoid tampering.
It is also important to factor in the camera’s field of view and night vision range when choosing a location. For example, if your camera has a limited range, make sure it is positioned in a way that maximizes its effectiveness. Additionally, make sure to avoid placing cameras in areas that are too close to bushes, trees, or other objects that could obstruct the camera’s view or cause false alerts due to movement.
Connecting Your IP Camera to the Network
Once you have decided on the optimal locations for your cameras, the next step is to connect them to your home network. For wireless IP cameras, this typically involves accessing the camera's configuration page via a smartphone app or web browser and inputting your Wi-Fi network credentials. If you are using wired IP cameras, you will need to connect them to your router or network switch using Ethernet cables.
After connecting the camera to your network, make sure to assign it a unique IP address, especially if you're setting up multiple cameras. This ensures that each camera has its own identifier, allowing you to monitor each one separately. Most modern IP cameras will automatically connect to your network when plugged in, but some may require you to manually configure settings via the camera’s web interface.
Powering the Camera
Powering your IP CCTV camera is an essential step in the setup process. For cameras that are powered via an adapter, simply plug the camera into a power outlet near the installation location. If your camera supports PoE, you can use a PoE injector or a network switch with PoE support to provide both power and data connectivity over a single Ethernet cable. PoE simplifies the installation process by eliminating the need for a separate power source.
For outdoor cameras, it’s crucial to ensure that the power source is protected from the elements. Weatherproof power adapters or outdoor-rated cables can help protect your setup in harsh conditions.
Installing the Camera Software
Next, you will need to install the necessary software for monitoring and managing your IP cameras. Many modern IP cameras come with mobile apps that allow you to access live video feeds, receive alerts, and manage your settings remotely. Alternatively, you may need to use a desktop or web application to set up the camera and customize its settings.
During the installation process, follow the instructions provided by the manufacturer. Most cameras will guide you through the configuration process, including adding the camera to your network, setting up motion detection zones, and adjusting video quality settings.
If your camera system includes a network video recorder (NVR), be sure to connect it to your router and follow the instructions for linking your cameras to the NVR. An NVR allows you to store video footage for later viewing, making it an essential component of a robust security setup.
Configuring Camera Settings
After installing the camera and connecting it to your network, you’ll want to configure its settings for optimal performance. This includes adjusting video quality, setting up motion detection zones, and enabling night vision if your camera supports it.
Ensure that the camera’s resolution is set to the highest possible quality for clear video footage. Many IP cameras offer resolutions of 1080p or higher, which is ideal for capturing detailed images. Adjust the camera’s field of view to cover the desired areas, and fine-tune the motion detection sensitivity to avoid false alerts.
Night vision is another key feature of IP cameras. If your camera has infrared (IR) night vision, make sure it is activated for low-light or nighttime surveillance. Depending on the model, you may be able to adjust the intensity of the night vision to suit your specific needs.
Testing Your IP Camera System
Once everything is set up, it’s essential to test your IP camera system to ensure everything is functioning properly. Check the camera's live feed from both your mobile app and the desktop interface. Test motion detection by moving in front of the camera and verifying that it triggers a recording or alert. Make sure the camera’s night vision works by checking the footage in low-light conditions.
Performing these tests ensures that the cameras are positioned correctly, the video feed is clear, and all settings are optimized. If necessary, make any adjustments to the camera’s placement, settings, or network connection.
Conclusion: Enjoy Peace of Mind with Your IP Camera System
Setting up IP cameras at home is a straightforward process that can greatly enhance your security. By following the proper steps, including selecting the right camera locations, connecting to your network, and configuring the camera settings, you can ensure that your surveillance system operates smoothly and efficiently.
With IP cameras providing 24/7 monitoring, real-time alerts, and remote access to live footage, you can have peace of mind knowing that your home is being protected around the clock. Whether you’re securing your front door, backyard, or garage, the versatility and reliability of IP cameras make them an excellent choice for modern home security.