In today’s rapidly evolving tech landscape, mobile apps are at the heart of how businesses and individuals engage with users. If you've ever wondered how to develop an app for iPhone, you're not alone. Developing your first iPhone app can seem like a daunting task, but with the right guidance and tools, it’s completely achievable. Whether you’re an aspiring entrepreneur, a startup, or someone with a great idea, the steps to building your first iPhone app are relatively straightforward. In this blog post, we will walk you through the entire process, from idea conception to launching your app on the App Store.
Step 1: Define Your Idea
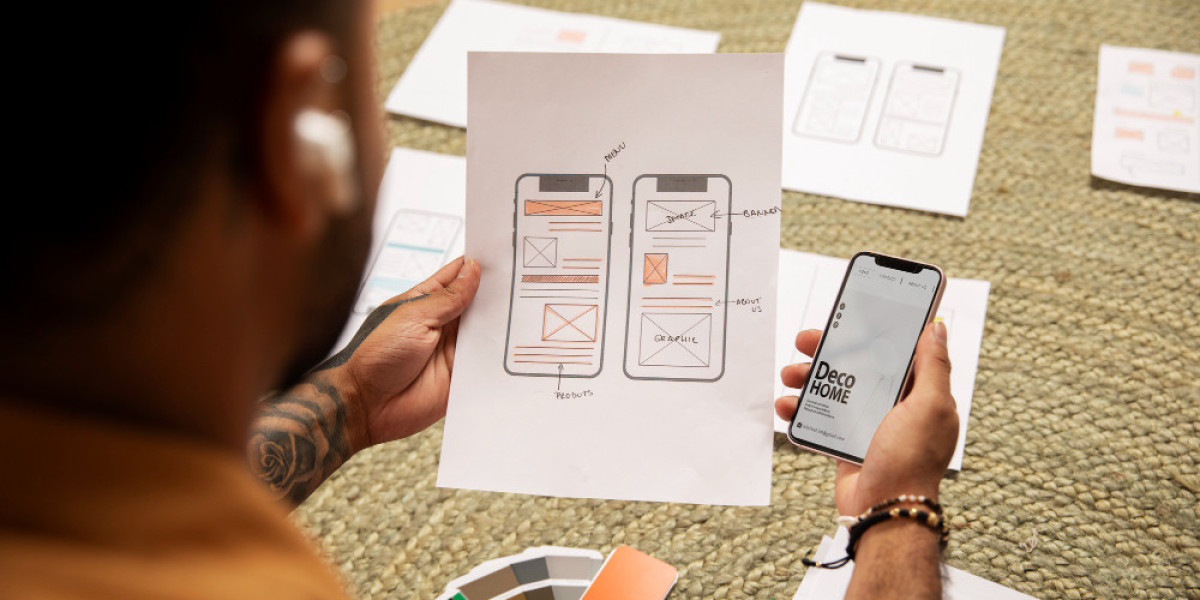
Before diving into the development process, it’s crucial to have a clear idea of the app you want to build. Is your app solving a specific problem? Is it for entertainment, productivity, or e-commerce? The more defined your concept is, the easier it will be to develop. Think about your target audience and the features your app will have. Create a simple wireframe or sketch of your app's layout and functionality to visualize its flow.
Step 2: Set Up Your Development Environment
The next step in how to develop an app for iPhone is to set up your development environment. To build iOS apps, you'll need a Mac computer with macOS installed. Apple’s Integrated Development Environment (IDE), Xcode, is the primary tool used for building iOS apps. Xcode provides everything you need to design, develop, and debug your app.
Download Xcode from the Mac App Store, and once it's installed, you can begin setting up a new project. Xcode uses a programming language called Swift, which is specifically designed for iOS app development. If you're unfamiliar with Swift, there are plenty of tutorials available to get you started.
Step 3: Learn Swift and Basic iOS Concepts
If you’re new to programming or Swift, it’s a good idea to spend some time learning the basics of the language and the key iOS concepts such as Views, ViewControllers, and Navigation Controllers. Swift is beginner-friendly but still powerful enough to create fully functional apps.
There are many online resources like Apple's official Swift documentation, tutorials on YouTube, or even free coding boot camps to help you learn how to develop your iPhone app.
Step 4: Build the App's User Interface (UI)
Once you’re familiar with Swift and the iOS development concepts, it’s time to start building your app’s user interface. iOS apps follow the Human Interface Guidelines set by Apple, which ensures your app is intuitive and user-friendly.
In Xcode, you can use Interface Builder, a drag-and-drop tool, to lay out your app’s UI. Create buttons, labels, and other elements and arrange them on the screen. You can also customize the look and feel of each component, including colors, fonts, and animations. Make sure that the design of your app is responsive, meaning it should adapt to different screen sizes like those of iPhones and iPads.
For a more complex app, you might want to hire a designer to help with the aesthetics. A well-designed app will not only look great but will also improve user engagement and retention. Keep your app’s interface simple, elegant, and easy to navigate to create a seamless user experience.
Step 5: Write the Code for App Functionality
At this stage, you’ll begin implementing the actual functionality of your app by writing Swift code. This includes defining what happens when a user clicks a button, how data is stored, and how the app interacts with external services like APIs. Depending on the complexity of your app, this part of the development process can take some time.
Start by focusing on smaller features first, and test them individually before integrating them into the app. Remember to test your app regularly to catch bugs early and ensure everything works as intended. Xcode includes built-in simulators for testing, so you can see how your app behaves on various iPhone models without needing the physical devices.
Step 6: Test Your App
Testing is one of the most critical phases of app development. Even after writing the code, you need to ensure that your app is bug-free, functional, and works across different devices and iOS versions.
Use Xcode's testing tools to run your app on an iPhone simulator. You should also test your app on a real iPhone to identify any issues related to performance, touch gestures, and real-world usage scenarios. You can invite users to participate in beta testing using TestFlight, a platform provided by Apple to distribute pre-release versi