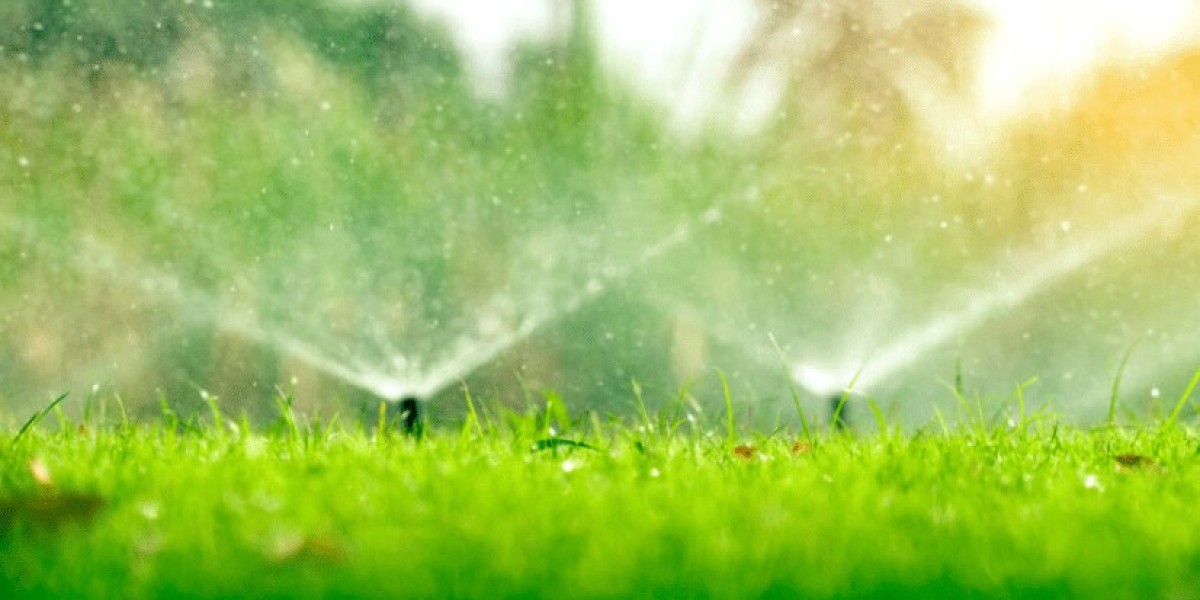
Your life becomes easier with lawn sprinklers. They keep your grass healthy and save you time. Many people think installing lawn sprinklers is hard. But with the right steps, you can do it like a pro.
In this guide, I will show you simple steps to install lawn sprinklers. You don’t need to be a plumber or landscaper. Just follow these easy tips and enjoy your beautiful lawn.
Why Install Lawn Sprinklers?
Watering with a hose takes a lot of time. Sometimes you forget, and your grass turns brown. Lawn sprinklers help in many ways:
Save Time: Set a timer and relax.
Save Water: Sprinklers use water wisely.
Healthy Lawn: Your grass gets even water every time.
Increase Home Value: Buyers love homes with sprinklers.
Now, let’s see what you need before starting.
Tools and Materials You Need
Before you dig, collect these tools and materials:
Lawn sprinklers (choose pop-up or fixed)
PVC pipes and fittings
Pipe cutter or hacksaw
Teflon tape
Shovel
Measuring tape
String and stakes
Timer controller (optional but recommended)
Backflow preventer (important for safety)
Having all tools ready saves time. Check your local plumbing store for the best sprinkler brands.
Plan Your Sprinkler Layout
Planning is the most important step. Walk around your lawn. Note sunny and shady areas. Sketch a simple map of your yard on paper.
Mark where you want each sprinkler head.
Check water pressure with a gauge. Most sprinklers need at least 30 psi.
Divide your lawn into zones if it’s big. Each zone will water separately.
Overlap sprinkler coverage by 30% so no dry spots remain. Proper planning saves you from digging twice.
Mark and Dig Trenches
After planning, use string and stakes to mark where your pipes will go.
Dig trenches about 6-12 inches deep.
Make sure trenches are level and smooth.
Digging is tiring but take breaks. Neat trenches make pipe laying easier.
Step 3: Lay the Pipes
Lay PVC pipes in the trenches. Connect them using elbows and T-joints as per your plan.
Cut pipes with a pipe cutter or hacksaw.
Clean edges to remove burrs.
Apply PVC primer and cement to connect fittings. Twist slightly to lock them.
Wait at least 15 minutes before moving the pipes after cementing. Safety first.
Install Sprinkler Heads
Attach sprinkler heads to the risers connected to the pipe.
Use Teflon tape on threads to prevent leaks.
Screw sprinkler heads snugly but don’t overtighten.
Adjust the direction of spray to cover desired areas.
Pop-up sprinklers are best for lawns as they hide when not in use.
Connect to Water Supply
Now connect the main pipe to your home’s outdoor tap or dedicated irrigation line.
Install a backflow preventer to keep dirty water from mixing with your drinking water.
You may need a pressure regulator if your pressure is too high.
This step is crucial. If unsure, consult a plumber to avoid leaks or water wastage.
Install a Timer Controller
A timer saves water and gives your lawn the exact amount it needs.
Set watering times early morning or late evening to reduce evaporation.
Adjust frequency based on season.
Smart timers connect to your phone. You can control your sprinklers from anywhere.
Test Your System
Turn on the water and check each zone:
Look for leaks in connections.
Adjust sprinkler heads if they spray sidewalks or walls.
Make sure there is no pooling of water.
Test for a week to ensure everything works smoothly.
Fill Trenches and Clean Up
Once testing is done:
Fill trenches carefully with soil.
Press down lightly to avoid air pockets.
Replace any sod or grass you removed.
Your lawn should look neat with only sprinkler heads visible.
Maintenance Tips
Installing sprinklers is only the start. To keep them working well:
Check heads every month for clogs.
Clean filters regularly.
Adjust spray pattern if grass grows taller.
Winterize the system before freezing temperatures to prevent pipe damage.
Simple maintenance keeps your sprinklers working for many years.
Common Mistakes to Avoid
Many DIYers make these mistakes:
Not checking water pressure before buying sprinklers.
Placing sprinklers too far apart causing dry spots.
Skipping backflow preventer (dangerous for water safety).
Forgetting to flush pipes before installing heads. Dirt can clog them.
Avoid these mistakes for a smooth installation.
When to Call a Pro
Sometimes it’s better to hire a professional. Call a pro if:
You have a large or complex lawn.
Your water pressure is low.
You are not confident with plumbing connections.
Professionals install systems faster with fewer problems. It may cost more but saves stress.
Final Thoughts
Installing lawn sprinklers is a great DIY project. It saves time, water, and gives your lawn a healthy look. Follow these simple steps to do it like a pro. Remember to plan well, use good materials, and test properly.
Your green, fresh lawn will make your neighbours jealous!
FAQs
Q. What is the best type of lawn sprinkler?
A. Pop-up sprinklers are best for lawns. They hide when not in use and spray evenly.
Q. How deep should I bury sprinkler pipes?
A. Bury pipes 6-12 inches deep. This protects them from damage and keeps your lawn neat.
Q. How long should I water my lawn with sprinklers?
A. Water for about 30 minutes per zone, 2-3 times a week. Adjust based on weather and season.
Q. Can I install sprinklers without digging?
A. You can use above-ground sprinklers connected to a hose. But underground systems look cleaner and are more efficient.
Q. Do sprinklers waste water?
A. No, if installed and set properly. Timers and correct spray patterns save water compared to manual watering.