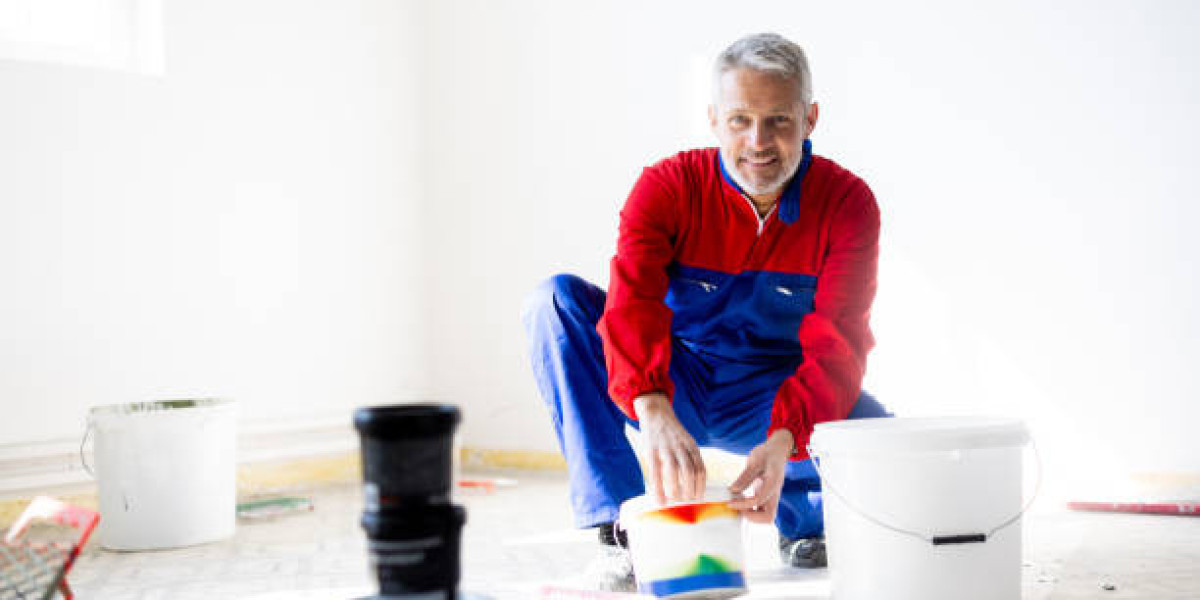
Embarking on a painting project can rejuvenate your living space, but achieving a flawless finish requires meticulous wall preparation. Proper preparation not only enhances the appearance but also extends the lifespan of your paintwork. Here's a comprehensive guide to ready your walls for painting in 2025, tailored for the UK audience.
- Assess the Wall Condition
Begin by thoroughly inspecting your walls for imperfections such as cracks, holes, peeling paint, or signs of dampness. Identifying these issues early ensures they are addressed before painting, leading to a smoother finish.
- Address Dampness and Mould
In the UK, dampness is a common concern due to the climate. Moisture can weaken paint adhesion, leading to blistering or peeling. To tackle dampness:
- Identify the Source: Ensure proper ventilation in areas prone to moisture, like kitchens and bathrooms, and repair any leaks promptly.
- Clean Affected Areas: For mould on porous surfaces, using white vinegar can penetrate and kill mould at the root, preventing regrowth.
- Use Specialist Paints: Applying specialist damp paint can treat affected areas and prevent recurrence.
- Repair Surface Imperfections
Smooth walls are essential for a professional finish. Here's how to address common issues:
- Fill Cracks and Holes: Remove loose debris from cracks, clean with sugar soap, and apply a suitable filler using a flexible filling knife. Once dry, sand the area until smooth.
- Sand Surfaces: Lightly sand all walls to remove peeling paint and create a texture that helps new paint adhere better.
- Clean the Walls
Cleaning is a crucial step to remove grease, fingerprints, and other contaminants:
- Wash with Sugar Soap: Apply sugar soap to the walls and wipe down with a sponge to eliminate dirt and grease. Follow up with warm water to remove any soap residue.
- Allow to Dry: Ensure walls are completely dry before proceeding to painting.
- Prime the Walls
Priming is vital, especially when dealing with new plaster or significant repairs:
- Choose the Right Primer: For newly plastered walls, applying a primer and undercoat is essential to prevent the plaster from absorbing the paint excessively.
- Application: Apply the primer evenly and allow it to dry as per the manufacturer's instructions.
- Dealing with Wallpapered Walls
If your walls are wallpapered, consider the following:
- Remove Wallpaper: For the best finish, it's advisable to remove old wallpaper. Once removed, sand the walls to eliminate any remaining debris and clean thoroughly before painting.
- Painting Over Wallpaper: If removal isn't feasible, ensure the wallpaper is in good condition. Clean the surface, apply a suitable oil-based primer to seal the glue and prevent peeling, and choose a paint finish that helps mask imperfections.
- Protect Surrounding Areas
Before painting, safeguard areas you don't want to be painted:
- Use Painter's Tape: Apply painter's tape to trim, sockets, and switches to protect them from paint drips and ensure clean lines.
- Cover Furniture and Floors: Use drop cloths or plastic sheets to cover furniture and flooring.
- Gather the Right Tools
Having the appropriate tools can make a significant difference:
- Brushes and Rollers: Choose synthetic bristle brushes for water-based paints and natural bristle brushes for solvent-based paints. Select rollers based on the surface texture; for example, a short-pile mohair roller is suitable for applying silk emulsion.
- Miscellaneous Tools: Ensure you have filling knives, sandpaper, sponges, and a sturdy ladder.
- Plan Your Painting Approach
A systematic approach ensures efficiency and quality:
- Ceilings First: Start by painting the ceiling to prevent drips on freshly painted walls.
- Walls Next: Proceed to the walls, working from top to bottom and from one side to the other.
- Trim and Woodwork Last: Finish with doors, door frames, and skirting boards.
- Allow Adequate Drying Time
Patience is key to a durable finish:
- Between Coats: Allow sufficient drying time between coats to prevent peeling and ensure even coverage.
- Final Cure: Even after the paint feels dry to the touch, avoid heavy contact until it has fully cured.
By meticulously following these steps, you can achieve a professional and lasting paint finish that revitalizes your space. Remember, thorough preparation is the foundation of any successful painting project.
For expert advice, quality paints, and tools tailored to your needs, visit Nevis Paints. Our team is dedicated to helping you transform your home with confidence and ease.


