Installing H1 LED headlights is straightforward with the right tools and approach. Follow these steps for a seamless upgrade.
Gather the necessary tools: gloves, a screwdriver (flathead or Phillips, depending on your vehicle), and a clean cloth. Wear gloves to avoid getting oils on the how to choose H1 LED bulbs, which can reduce their lifespan. Turn off your vehicle’s engine and headlights, and ensure the battery is disconnected to prevent electrical issues.
Remove the Old Bulbs
Open the hood and locate the headlight assembly. Remove any dust covers or retaining clips securing the H1 halogen bulb. Twist the bulb counterclockwise to release it from the socket, then gently disconnect it from the wiring harness. Avoid forcing the bulb out, as this could damage the housing or connector.
Install the H1 LED Bulbs
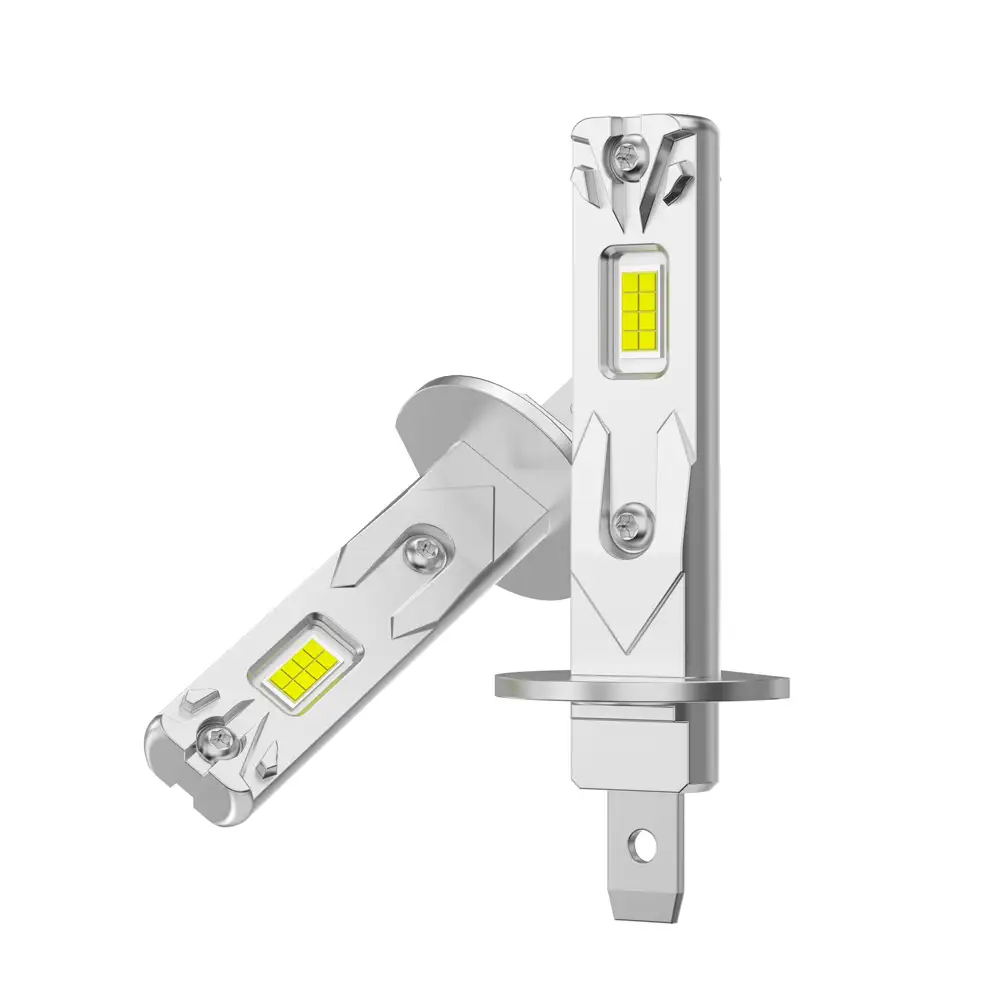
Unpack your new H1 LED bulbs and inspect them for damage. Connect the LED bulb to the vehicle’s wiring harness, ensuring a secure fit. Insert the bulb into the headlight housing, aligning any tabs or notches, and twist clockwise to lock it in place. If your bulb has a cooling fan or heatsink, confirm it’s not obstructed by the housing.
Adjust the Beam Alignment
Improperly aligned headlights can blind other drivers or reduce your visibility. Turn on the headlights and park your vehicle 25 feet from a flat wall. Check that the beam cutoff is level and centered. Adjust the headlight aim using the adjustment screws on the assembly, following your vehicle’s manual for precise instructions.
Test and Secure
Reconnect the battery, start the engine, and test the headlights in low and high-beam modes. Ensure both bulbs illuminate consistently without flickering. Replace any dust covers or clips, and double-check that all components are secure. Take a short test drive to confirm the lighting performance under real-world conditions.
Final Tips for Success
Before purchasing, verify local regulations, as some regions restrict LED headlight brightness or color. If your vehicle uses a CANbus system, you may need a resistor or decoder to prevent error codes or flickering. Regularly clean your headlight lenses to maintain brightness and clarity.
By choosing high-quality H1 LED bulbs and following this installation guide, you’ll enjoy safer, brighter nighttime driving with a professional-grade upgrade.
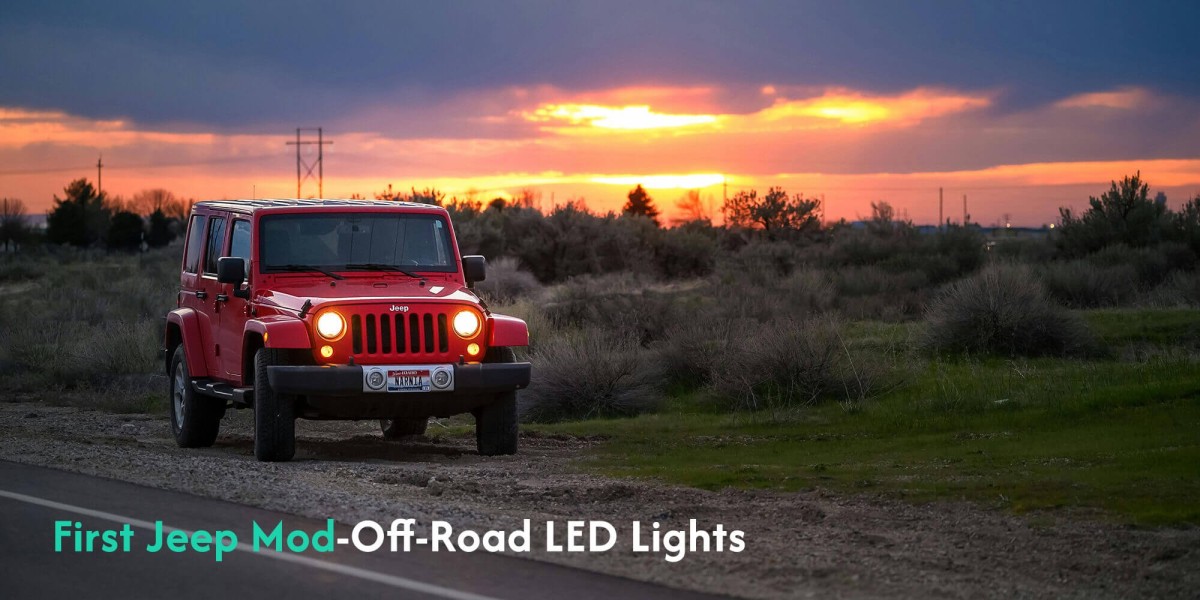
Switching to H1 LED headlights is a game-changer for drivers seeking brighter, more efficient lighting. However, picking the right bulbs and installing them correctly can make or break the experience. This article dives into how to choose H1 LED bulbs and offers practical tips for a smooth installation, ensuring you get the most out of your upgrade.


