DIY Podcast Studio: A Step-by-Step Setup Guide
Podcasting has become one of the fastest-growing mediums for storytelling, education, and brand building. With millions of podcasts available worldwide, creators are realizing the importance of producing high-quality audio that engages listeners. While renting a professional studio is always an option, setting up a DIY podcast studio at home is both practical and affordable. This guide will walk you through the step-by-step process of building your own podcast studio, even if you’re just starting out.
Why Build a DIY Podcast Studio?
A dedicated podcast studio allows you to control your recording environment, maintain consistent audio quality, and save on long-term rental costs. With advancements in affordable gear, even beginner podcasters can create professional-sounding episodes from home. Having your own space also gives you the flexibility to record anytime inspiration strikes.
Step 1: Choose the Right Space
The first step is selecting a location. Look for a quiet, low-traffic room in your home. Bedrooms, offices, or basements often work best since they usually have fewer echoes compared to open spaces. If you search for a studio near me, you’ll notice that professional setups prioritize soundproofing and acoustics—a standard you should aim to replicate at home as much as possible.
Tips for choosing a room:
Avoid rooms with hard surfaces like tiles or large windows.
Smaller rooms with carpets, curtains, and furniture help absorb sound.
Ensure the space has adequate ventilation so you can record comfortably.
Step 2: Soundproof and Treat the Room
Clear audio is the foundation of a great podcast. Background noise, echo, and reverb can ruin your listener’s experience. While full professional soundproofing can be expensive, DIY solutions work surprisingly well.
Practical sound treatment options:
Hang thick curtains or blankets over windows and doors.
Use rugs or carpets to reduce echo from floors.
Place bookshelves, cushions, or foam panels to diffuse sound.
A dedicated podcast studio in Lahore often incorporates advanced soundproofing, but for home setups, even basic treatment can dramatically improve recording quality.
Step 3: Invest in the Right Microphone
Your microphone is the heart of your studio. Luckily, there are excellent budget-friendly options:
USB microphones (e.g., Blue Yeti, Audio-Technica ATR2100x): Plug directly into your laptop and are easy for beginners.
XLR microphones (e.g., Shure SM58, Rode PodMic): Provide higher quality but require an audio interface.
If possible, pair your mic with a pop filter to eliminate plosive sounds and a mic stand for stability.
Step 4: Get an Audio Interface or Mixer
For XLR microphones, you’ll need an audio interface like the Focusrite Scarlett Solo or Behringer UMC22. These devices connect your mic to your computer and allow for clearer sound capture. If you plan to host multiple guests, a mixer may be a better option since it gives you control over multiple audio channels.
Step 5: Use Quality Headphones
Investing in closed-back studio headphones helps you monitor audio in real-time and catch issues while recording. Affordable options like Audio-Technica ATH-M20x or Sony MDR-7506 offer accurate sound monitoring without breaking the bank.
Step 6: Select Recording Software
Podcast recording doesn’t require expensive software. Some excellent free and budget-friendly options include:
Audacity: Free, open-source, and beginner-friendly.
GarageBand (Mac users): Intuitive and powerful for simple setups.
Adobe Audition or Reaper: Paid options with advanced features for professionals.
Choose software that matches your comfort level and the complexity of your podcast.
Step 7: Arrange Your Studio Setup
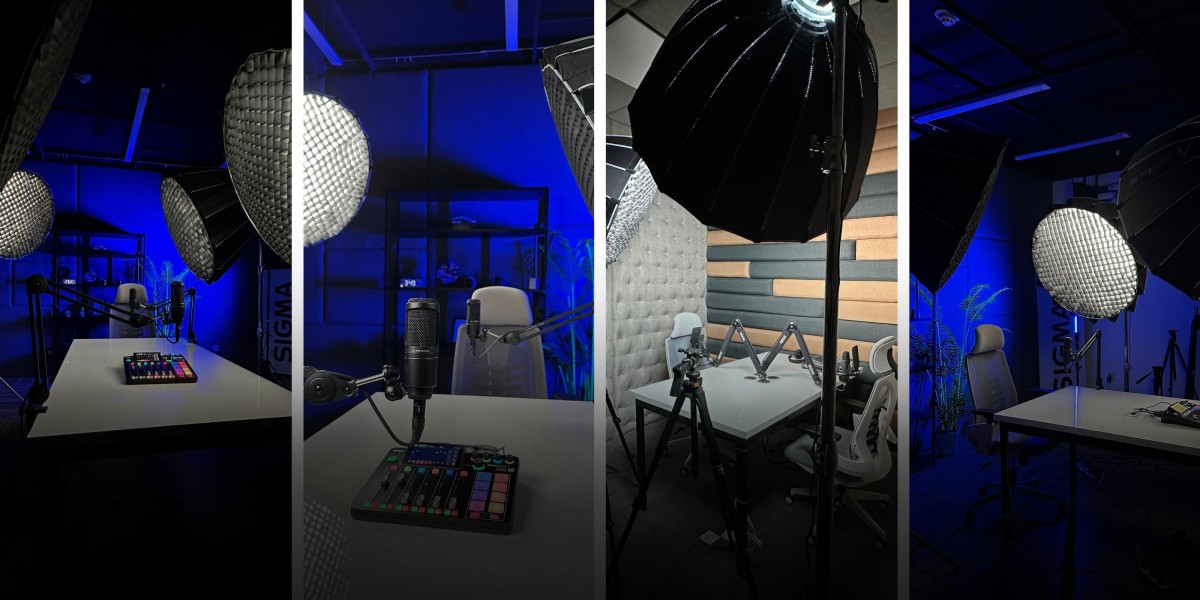
Your studio layout impacts comfort and productivity. Place your microphone at mouth level and keep your audio interface within reach. Avoid sitting directly against walls to reduce echo. Ensure that cables are neatly organized to avoid interruptions during recording.
Step 8: Test and Optimize
Before recording your first episode, run multiple test recordings. Listen for echo, background noise, or volume inconsistencies. Adjust mic placement, room setup, or gain levels until you achieve a clear, balanced sound. This process ensures that your first official episode sounds professional.
Step 9: Backup Your Work
Always back up your audio files. External hard drives and cloud storage solutions like Google Drive or Dropbox keep your work safe in case of system crashes or accidental deletions.
Step 10: Keep Improving
Your DIY podcast studio doesn’t have to be perfect from day one. Start with the basics and upgrade over time as your podcast grows. Each small improvement—better acoustics, upgraded mic, or improved editing skills—will enhance your content quality.
Common Mistakes to Avoid
Using built-in laptop microphones: They pick up too much noise.
Ignoring room acoustics: Even the best mic sounds bad in an untreated room.
Overcomplicating setup: Start simple and scale as needed.
Final Thoughts
Building your own DIY podcast studio is both achievable and rewarding. With the right space, essential gear, and a little sound treatment, you can produce high-quality audio that rivals professional studios. Whether you’re sharing stories, interviewing guests, or teaching your expertise, a well-structured podcast studio sets the stage for long-term success.


