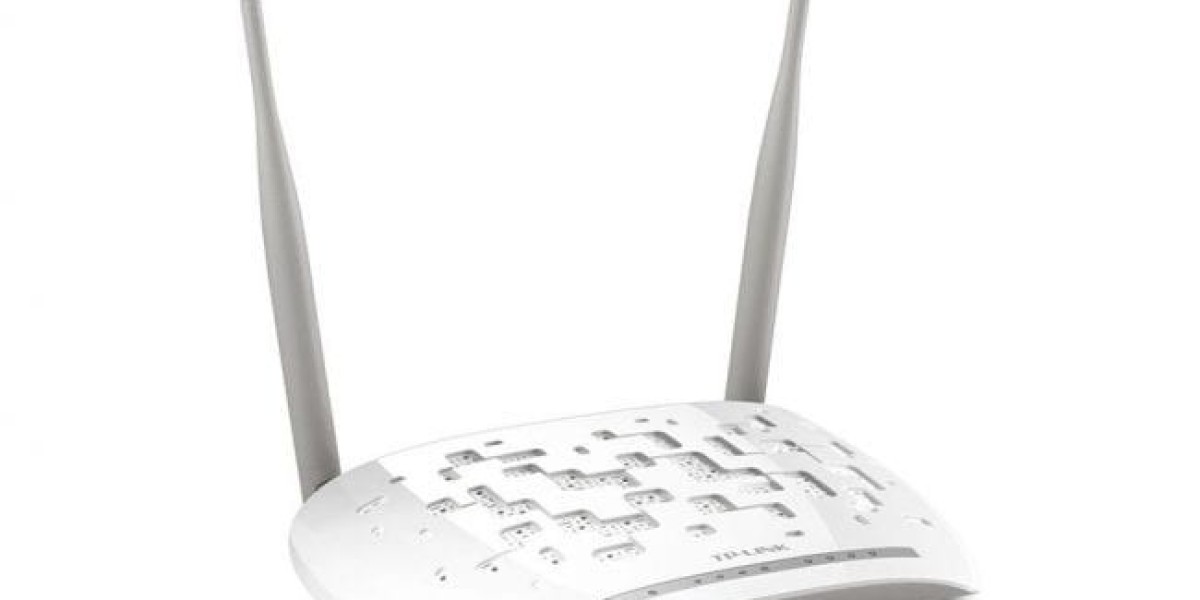
Weak signals and dead spots in some parts of your house spell misery on you. The really cheap, easy-to-set-up TP-Link WiFi extender can kill those dead zones. This quick manual for the TP-Link WiFi extender setup has your coverage extended within minutes.
First, plug the extender into an electrical outlet near your main router. Let the power LED become stable. Now hit the WPS button first on your router, then on the extender. Once the connection is established, the signal LED will become solid.
If your router does not support WPS, you will have to use either the TP-Link Tether app or a web browser to connect to the extender's default network. Then, go to tplinkrepeater.net and manually pair it to your Wi-Fi network.
Once you finish setting it up, move the extender halfway between your router and the poorly-covered zone. The signal LED must be glowing green or blue for best performance.
With simple TP Link WiFi extender setup, your home network will gain extended coverage, thereby suitable for any streaming, gaming, and working from any room.


