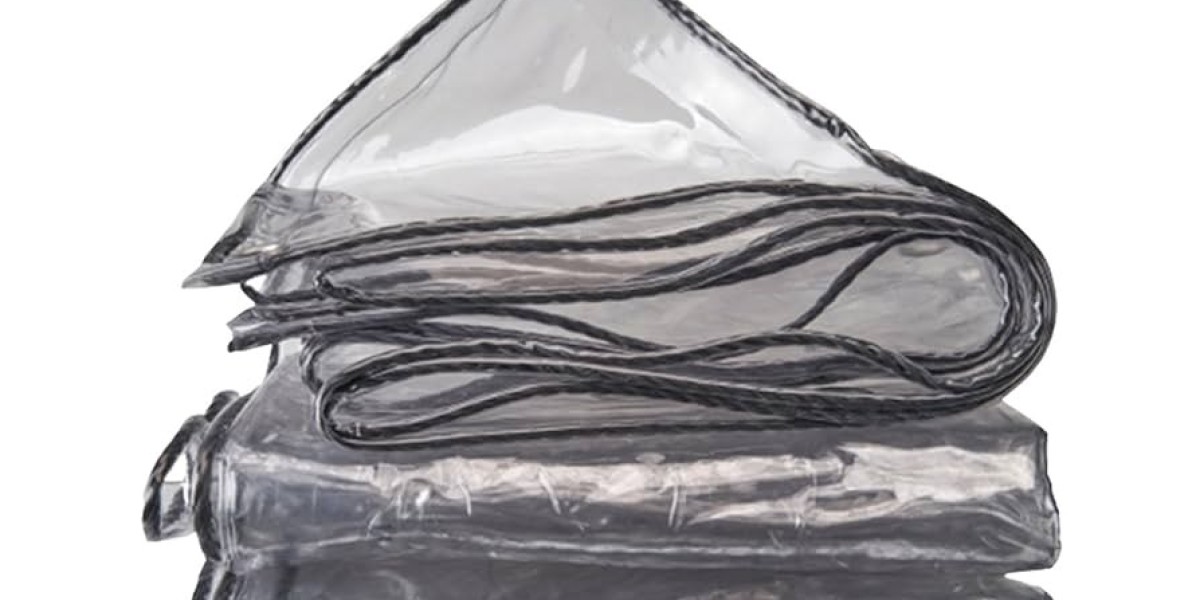
A Clear Tarpaulin is a very versatile product, providing the strength and protection of a standard cover with the added valuable advantage of visibility. While opaque tarpaulins block light, a Clear Tarpaulin sheet lets it through while protecting contents from rain, wind, and debris. This blend provides it with an ideal flexibility for a vast array of applications, ranging from construction and farm projects to retail displays and event organization. Yet, in order to realize its full potential, off-the-shelf sizing is frequently inadequate. Mastering the art of tailoring a clear tarpaulin enables you to craft an ideal, purpose-fabricated solution for any given requirement.
Knowing the Material: The Key to Customization
As you start any project, it's essential that you know what you're dealing with. Most Clear Tarpaulins consist of polyethylene (PE) or vinyl (PVC), both offering different benefits.
Polyethylene (PE): It is the most widely used material for general-purpose clear tarpaulins. It's light, water-resistant, and inexpensive. It's ideal for short-to-medium-duration applications such as covering firewood, setting up a temporary greenhouse, or covering equipment while moving. Nevertheless, it's not as resistant to tearing and UV degradation for long-term use as vinyl.
Vinyl (PVC): Vinyl tarpaulins are the heavy-duty variety. They are much more resistant to abrasion, tearing, and long-term sun exposure (thanks to UV inhibitors). They also are more flexible in cold temperatures. A vinyl clear tarpaulin is the option for permanent or long-term applications, such as machine enclosures, permanent patio enclosures, or industrial partitions.
Knowing the material helps you choose the right tarpaulin for your project's duration and environmental demands, ensuring your customization efforts last.
Method 1: Cutting and Sizing for a Perfect Fit
The most straightforward form of customization is resizing a large tarpaulin sheet to your exact dimensions.
Measuring: Measure out the desired width and length using a measuring tape on the tarpaulin. It's always best to add a couple of inches to your measurements so that you can create hems and seams if you want to strengthen the edges. Remember the saying: measure twice, cut once.
Cutting: Employ a heavy-duty, sharp pair of scissors, a utility knife, or a rotary cutter. To cut straight, employ a long metal ruler or a straightedge guide. Cut on a large, flat, clean area to maintain precision and avoid the material moving.
Sealing the Cut Edge: A raw cut edge on polyethylene is likely to fray and provide an initiation point for tearing. To avoid this, you may seal the edge. For PE tarpaulins, lightly passing the flame of a lighter rapidly over the cut edge will soften the plastic slightly and seal it. For vinyl, a hot knife is the best tool as it seals and cuts both at the same time. Always do this in a well-ventilated area and with utmost caution.
Method 2: Reinforcing Edges and Adding Grommets
A cut edge does not have the reinforced hem and grommets of a produced edge, which are vital for holding the cover in place.
Making a Hem: Take the cut edge and fold it over by roughly 1-1.5 inches and hold it in place. For an industrial, long-lasting finish, apply a heavy waterproof vinyl tape used for Tarpaulins on each side of the fold. For an ultra-snug hold, you might use a sewing machine with a heavy duty needle and UV-stable thread to sew the hem. This is typical for vinyl tarpaulins.
Attaching Grommets: The secret to making your own custom-sized tarpaulin useful is the addition of grommets. You can buy an inexpensive grommet kit at any hardware store that contains a punch, setting tool, and metal grommet rings.
Mark the location for your grommets every 18-24 inches along the reinforced hem.
Make a clean hole using the punch from the kit.
Position the two halves of the grommet ring on either side of the hole.
Use the setting tool and hammer to push the pieces into place, making a firm reinforced hole.
This is an easy way to have grommets where you want them, with even better tie-down points that fit your object or building.
Method 3: Merging Sheets and Adding Custom Features
At other times, you will need more than one sheet. Customization can also involve making a bigger cover or adding particular features.
Seaming Multiple Tarpaulins: To make an extra-large clear tarpaulin, you can seam two or more sheets. The best way is to use waterproof tarpaulin tape. Overlap the two edges by 2-3 inches and press the tape firmly onto both surfaces, sealing it completely. For a permanent and heavy-duty seam, you can have them professionally heat-welded, a service provided by some tarpaulin dealers.
Adding Access Points: For greenhouses or equipment covers, you may require a door or flap. You can personalize your design by cutting an opening and subsequently adding an additional flap on top of it using heavy-duty zippers, Velcro strips, or snaps. This turns a basic cover into an operational shelter.
Creative Uses for Your Custom Clear Tarpaulin
With these skills, the opportunities are endless:
Tailored Greenhouse: Construct a frame and a precisely fitted cover that traps maximum sunlight for your plants.
Equipment Protector: Develop a cover for a single piece of equipment, with tailored flaps for control access.
Retail Display Shield: Build a clear, protective cover over a product display that enables customers to view the items while preventing them from being dusty.
Individual Event Protection: Design a specially-sized rain cover for a wedding arch, booth, or outdoor dining space that does not block the view or light.
Clear Tarpaulin Customization is a useful and satisfying DIY endeavor. By taking your time to cut precisely, seal, reinforce, and add grommets, you can transcend the usual sizes and produce a tough, clear cover that suits your very specific needs, providing protection, visibility, and a flawless fit every time.


